Showing posts with label canvas art. Show all posts

September 13, 2013

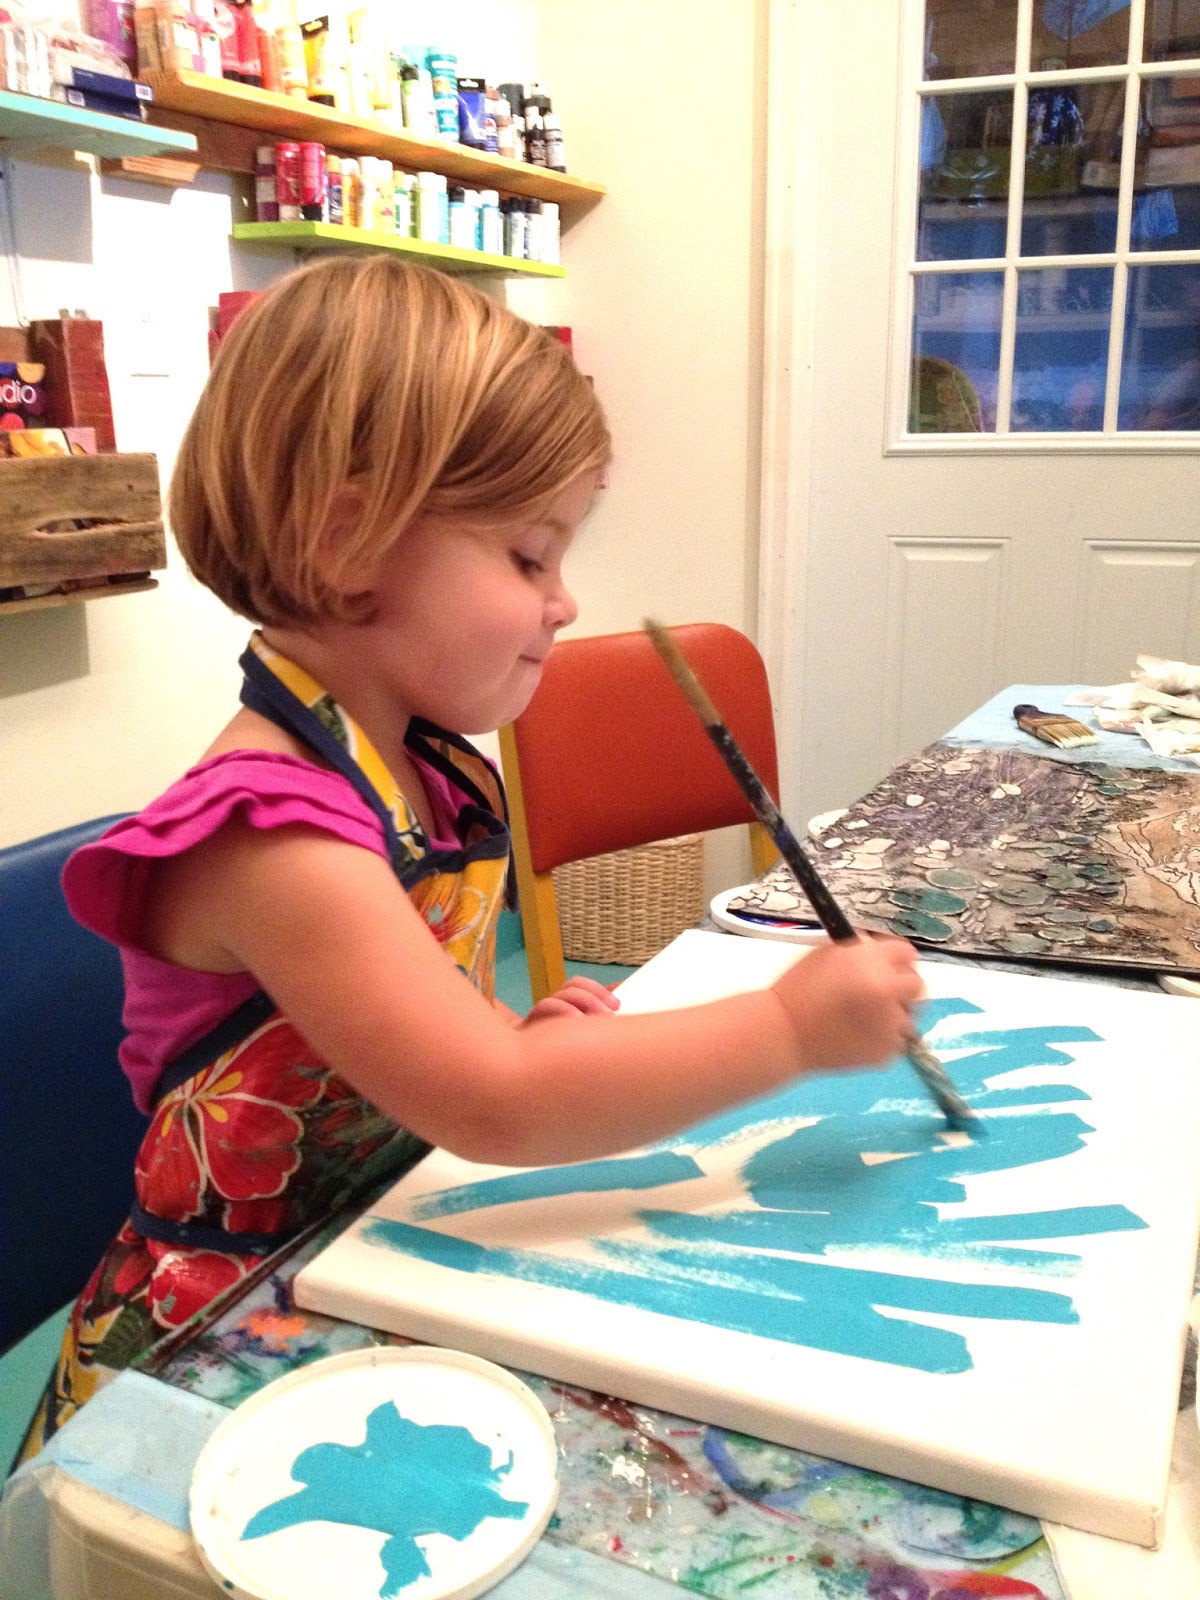
"En Plein Air" Kid Painting- a.k.a. Free Paint Time!

"En Plein Air" is French, meaning to "paint outdoors", but to me in my world, it is to create art "without rules" or any "preconceptions." I always have a project in mind when I give my kids or students art materials. My own kids sometimes just ask "Mom, can we just make an art project without having you tell us what the theme is?" Oh yeah, that would be nice right? Why didn't I think of that? 


So... one "to do" we wrote for our 
Family Summer BUCKET LIST:

  • Buy blank white canvas!
  • Paint whatever you want!
  • No Rules!


I didn't exactly make time in the Summer for this type of painting. Turns out it is a great idea for when the older kids are in school! I loved watching the facial expressions of my 3 1/2 year-old -choosing colors, brushes and paint and whatever entertained her cute little mind...

A therapeutic painting exercise for all ages... even adults.


FISH JUMPING OVER THE RAINBOW WATER... AND A BIG SHARK... AND A BIG RED WHALE 


Didn't ya know?


March 25, 2013

Acrylic on Tissue Paper (not achooo! paper) DIY wall art {tutorial}


We started this kid art project with our amazing friends who live in Tabiona, UT.  We  made a smaller version of what I did with the first-graders, here is the post A Swarm of Sea Creatures! Tissue Paper & Paint {tutorial}. We had so much fun, most of us anyway, my son didn't want to start his until we returned home.  

I'm completely obsessed with tissue paper art right now. So you will be seeing another tissue project, but who knows when I'll be able to post it! It's family-inspired and will be featured in the next issue of the fabulous Sandbucket family magazine coming out in April!

I have good news! BABY #4 finally decided to arrived into the world March 13th, 2013! HE is a joy in our family and we are adjusting to the new addition. Our kids love him! 


Tissue Paper Art Tutorial

Materials Needed:
  • pencil & erasure
  • black permanent marker
  • white tissue paper (gift paper)
  • acrylic paint & brushes
  • pre-stretched and gessoed canvas
  • Mod Podge


  • I had the kids pick a theme or setting and go from there...


  • Draw with pencil first on the tissue paper (tip: pencil very lightly so the paper won't rip if you want to erase) and then trace with permanent marker.


  • Paint your drawings (tip #1: paint lightly, so you can see the black outline. tip #2: don't let your paint be so thick that it makes the paper rip. Make sure the tissue paper is not sticking underneath to surface as it is drying.)


2 DIFFERENT WAYS WE PREPARED & PAINTED OUR CANVAS:
You Can Choose!
  • 1- After you have painted your "shapes or drawings" on paper, it is easier to figure out your background on your canvas. The top canvas is acrylic painted directly onto canvas


  • 2- This canvas' surface & sides has been adhered (Mod Podge) with a layer of tissue paper first and now he is painting his background onto the tissue/canvas (gives it more texture).

  
  • Cut out the paintings from the tissue paper. You can cut along the black lines tight, or around the outside, leaving a "cloud" (You can see the finished artwork later in this post to see what I mean...) of tissue paper. (tip: touch up artwork with permanent marker before you start to adhere) 


  • Time to arrange their masterpiece before adhering to the canvas. 


  • I used a brush and applied a thin layer of Mod Podge to the canvas' surface first for each individually painted object, and then placed the object on top. (tip: let the paper lay/float itself down and then lightly spread out with your brush)
  • If you look closely, you can see that the tissue paper might by wrinkly in some areas. That's okay! Spread out as much as you can and then leave it alone to dry.
  • When objects are dry, add a thin layer of Mod Podge to seal and protect artwork. Add another layer if desired. 


They turned out so beautiful and bright...

(10 years old)

(7 years old)

 Creating as a family!  (9, 11, & 13 years old)


What a wonderful Spring art project! I hope you enjoy these as much as I do. Look for my next tissue paper art project with our family...

. . . . . . . . . .
I will try to post as much as I can with a new baby, but his time is the most important right now.


February 28, 2013

Kid Art- Dr. Seuss inspired Acrylic Glue Batik Painting

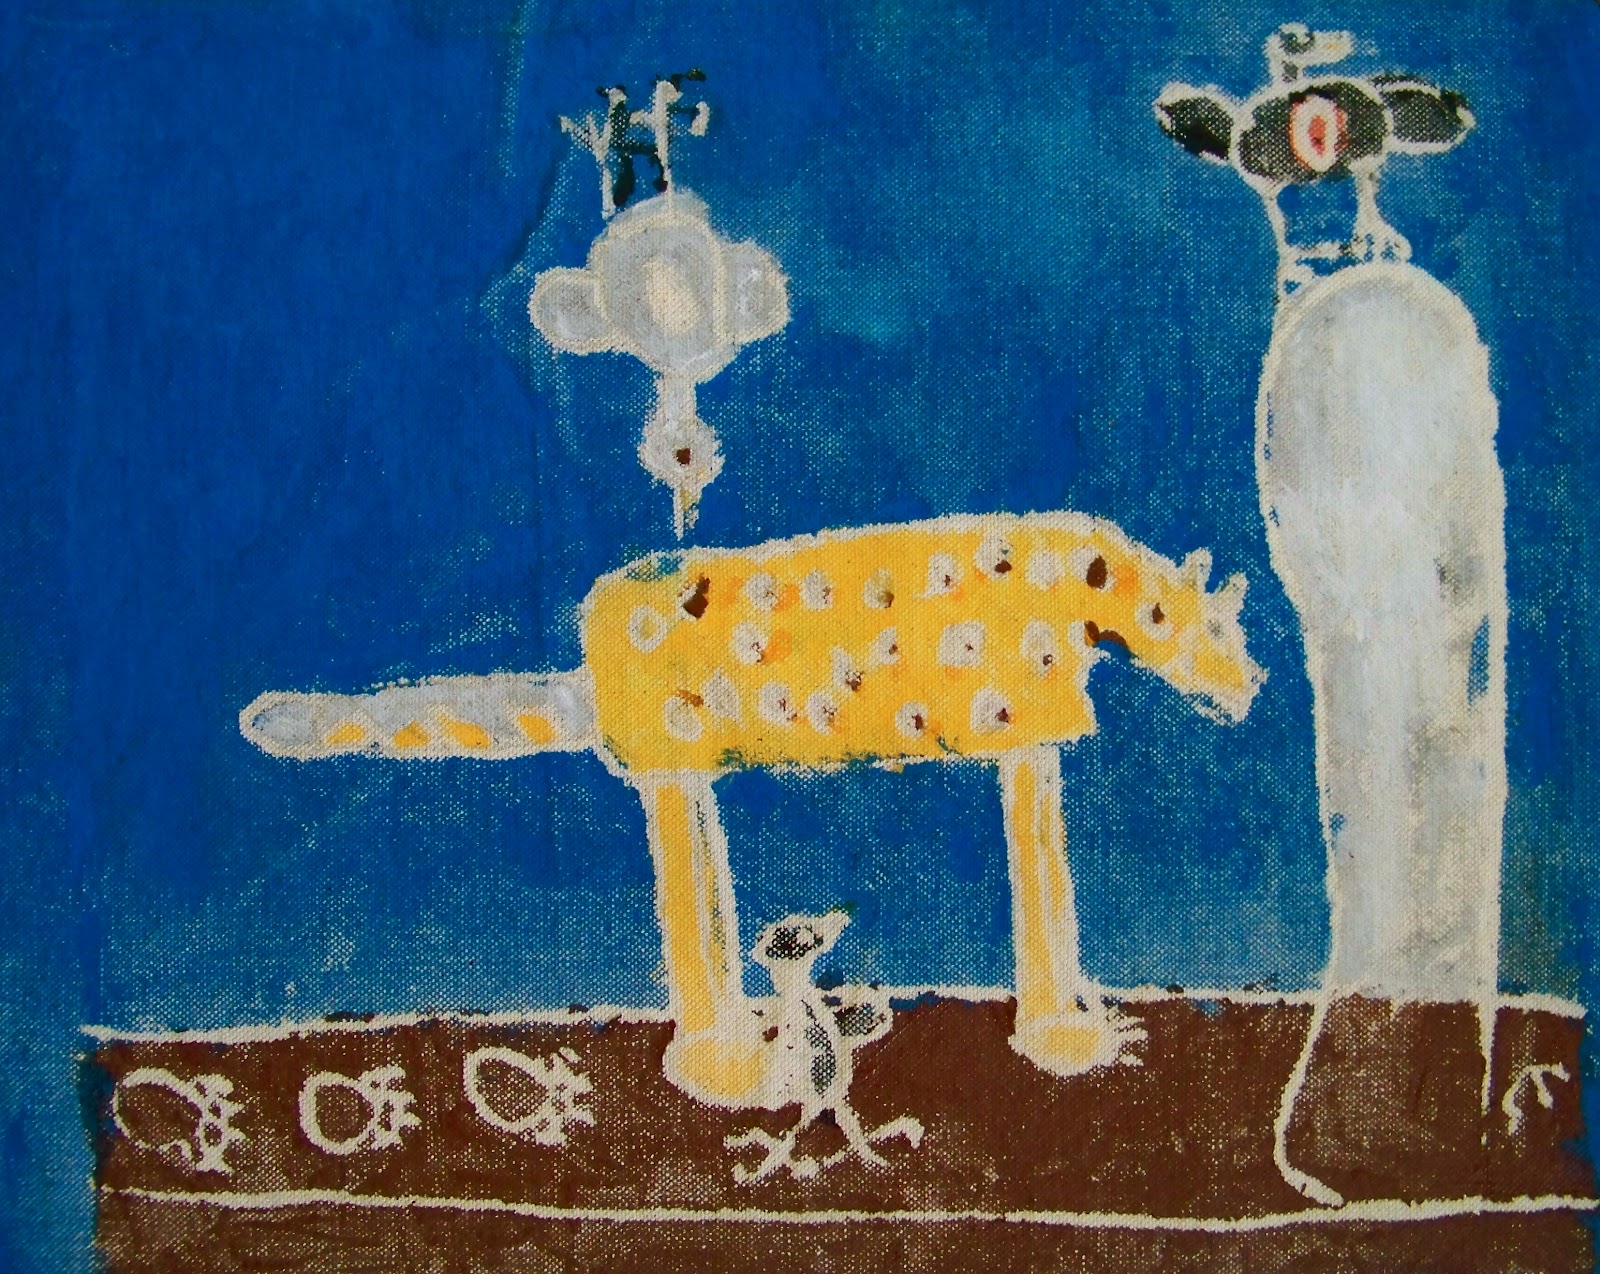
My son drew with pencil on this scrap of canvas almost a year ago (6 yrs. old). As some of you know I've been "nesting" (for a year, or maybe just always) for our 4th baby (due Mar. 10th, eek!) and trying to get "things" out of the way. I've been having problems with our internet, so it's been hard posting lately too.

We finally got around to finishing this batik painting (Go to my Simple Glue Batiking on Canvas {tutorial}). He said it reminded him of Dr. Seuss' books. I would agree! I think Dr. Seuss has more influence with his wonderful nonsense drawings and ideas more than we all realize! So we saved it for Dr. Seuss week. 


Isn't this whimsy?
This is after the glue has been washed off. Now I need to figure out how to frame it... hmmm...


This is before the glue has been washed off. Obviously it's a lot brighter in color but there isn't a lot of detail from his drawing underneath. That's why I love using the glue batiking method! 

Simple!
Yo Yo Yo Dr.Seuss!


September 12, 2012

Gorgeous GLUE BATIK on Canvas! - Summer Art Class

GLUE BATIK ON CANVAS was my favorite summer art project with the kids, and the kids had to give it their all! 

This art class consisted of 18 kids (5 years - 10 years old) and 5 days of ART PROJECTS...

For the first Summer Art Class, we had an art show where they were able to show their parents all of their own & other students' artwork and then take theirs home. It was so busy, I was lucky to get photos! 


Follow this link for:

 Paintings drying on the rack after the glue has been washed off the canvas (in my new art studio!)

 Our fun little art show before the "crowds" came!


And now... The Artwork! (almost all)


Amazing Glue Batik

Amazing Art

Amazing Kids

An Amazing Summer


February 10, 2012

ArtPalooza week- day 5 - Simple Batiking {tutorial} - on canvas


I wanted to create artwork to hang in my kids' brightly-colored bathroom...

Once again, I used Elmer's Clear Glue and acrylic paint (technique adapted from the pinkandgreenmama) instead of the traditional batik mediums, with dye and wax (although I would love to learn how!)
(this image is not for sale)
I adapted the image from the amazing janefosterblog.blogspot.com  

Batik on Canvas Tutorial:
Please visit my Simple Batiking-Shirt Design Tutorial for kids & more details.


 Items Needed:
  • Elmer's Clear Glue
  • canvas or desired material
  • acrylic paint 
  • paint brushes
  • pencil
  • cardboard

Simple Instructions:
  • Draw your design with pencil on the canvas.
  • Then outline your design with glue. (Unlike the cotton t-shirt fabric, the glue will not naturally soak through the thick canvas. I had to penetrate the glue into the fabric so that it didn't bubble on top the surface.)
  • Let dry overnight.
                                      
 Paint over the glue with cardboard behind canvas...
 Let the paint thoroughly dry overnight...
 In the sink, soak in warm water for at least 30+ minutes, gently rub away the glue.

Completely dry and ready to hang! 
This can be adapted for any age! Super easy and fun.

Ideas for display: 
  • Make into a pillow cover.
  • Sew onto a shirt.
  • Sew onto the front of a bag.
  • Stretch onto a wood frame, around the edges, and staple canvas to the back.
  • Sew to the inside of a shadow box frame.
  • Paint a sturdy wood board and and adhere with Mod Podge.
  • Tack artwork onto the wall.
Okay, seriously, I'm out of ideas! I had so much fun creating this, I hope you try your own "simple batik" project also! 
So many possibilities!


I do NOT SPAM! You won't be sorry when you get the SUPER SECRETE SALES & SNEAK PEEKS!


Thank you for stopping by