Showing posts with label bright color. Show all posts

February 25, 2016

Come walk in our Winter Woodland Forests


Imagine your own Winter Wonderland Forest...
They did.

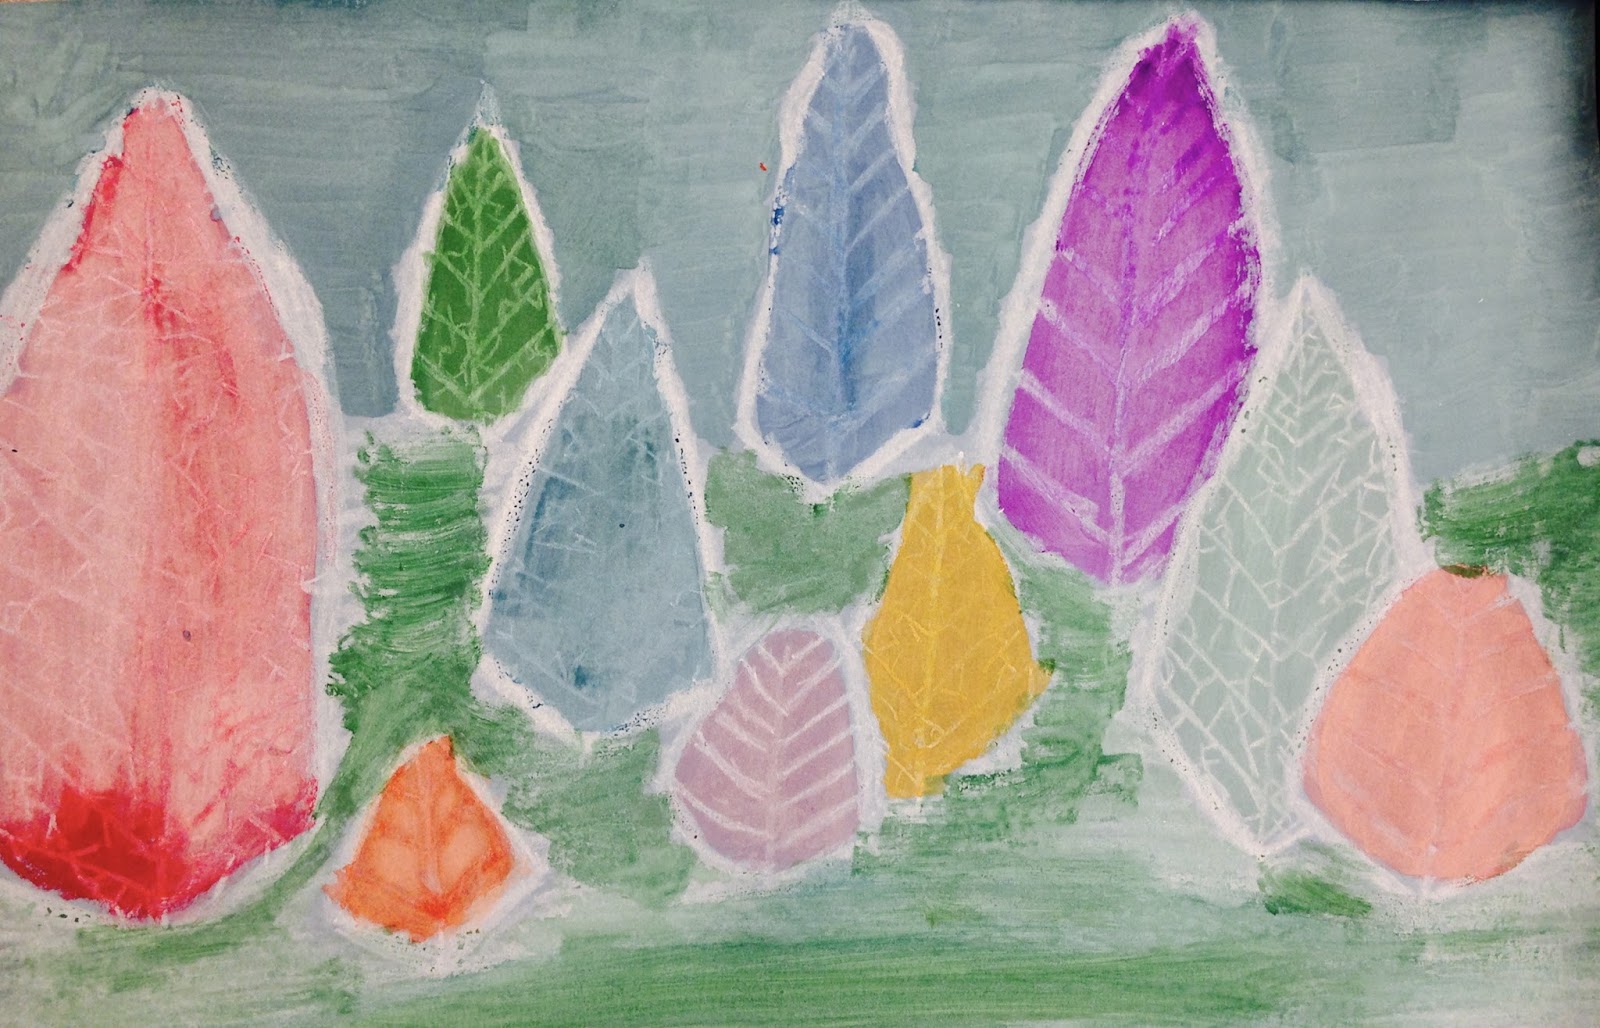
This art project was awesome! I found a few crayon resist art images on Pinterest (with no links to any websites-sorry, no references). With a few requirements of trees and branches, I let the students be creative. Here is what they came up with:


Crayon & Watercolor Resist Art Project


 Materials Needed: 

  • white or light blue paper
  • white crayon and brown crayon (for branches)
  • other crayon colors (for cabin or animals if desired)
  • watercolors & brush (for trees, sky and ground)

*   *   *   *   *   *   *   *   *   *   *   *   *   *   *  
  • They had the choice of using white paper(with brown branches) or light blue paper(with white branches). 
  • All they needed to do is make sure their trees and ground has plenty of white crayon snow to create a colorful WINTER WONDERLAND! I love these!




Two clear examples of WHITE and LIGHT BLUE paper:

Crayon on White paper

Crayon on Light Blue paper


Wouldn't you love to walk in their Winter Forests!


February 12, 2016

PRESIDENTS' DAY art project Part 1: Thomas Jefferson {Collaborative Collage Tutorial}

This is an excellent collaborative art project for Presidents' Day! We created Abe Lincoln {Newspaper Abe tutorial here} a few years back, and then added to our collection George Washington & Thomas Jefferson recently. We had about 80+ kids contributing to make each of them. 

This was an amazing art project to participate in with the students. They were able to reflect on history and words that represent our country.

We entered the presidents in a contest and won a prize!

We are representing our 2nd Grade 
Madison Country Patriot Contest. 
SMILE!!!! GOOFY ALL OVER THE PAGE!


Thomas Jefferson on the
Declaration of Independence


Tutorial for Jefferson on Paper:

Materials:
overhead projector
president image on transparency paper
numerous copies of The Declaration of Independence
clear tape
canvas  stretched or wood board (for the image to adhere and hang on wall)
black permanent marker
crayons
heavy books
plastic cling wrap
large brush

1- Please refer to the tutorial of Newspaper Abe Here to get an idea of how the images are copied onto the paper and the adhering process.


2- I used this Declaration of Independence and this image of Thomas Jefferson.

3- I lightly taped the paper together on the back side so the tape would not show on the final image.(Notice I did print on different shades of paper, hence the lighter area of the face)

4- I turned over Thomas Jefferson and randomly cut into strips and then into rectangle shapes. I cut around 90 shapes so each student and teacher would be able to color their own. 

5- Just like in creating Abe, I numbered the backside of each paper in order (1-90) so I could easily arrange Thomas back together. 


6- Students created designs and colored with crayons on their shape of paper.


7-  I sparingly taped the backside of shapes into strips, taping the numbers in order.

8- Flipped it over and used Mod Podge to adhere the strips (easier in strips than the whole image) onto the wood board until image was complete!

9- I use polyacrylic, which is a non-yellowing clear layer and is stronger than Mod Podge, for a top coat on the image. 


September 13, 2013

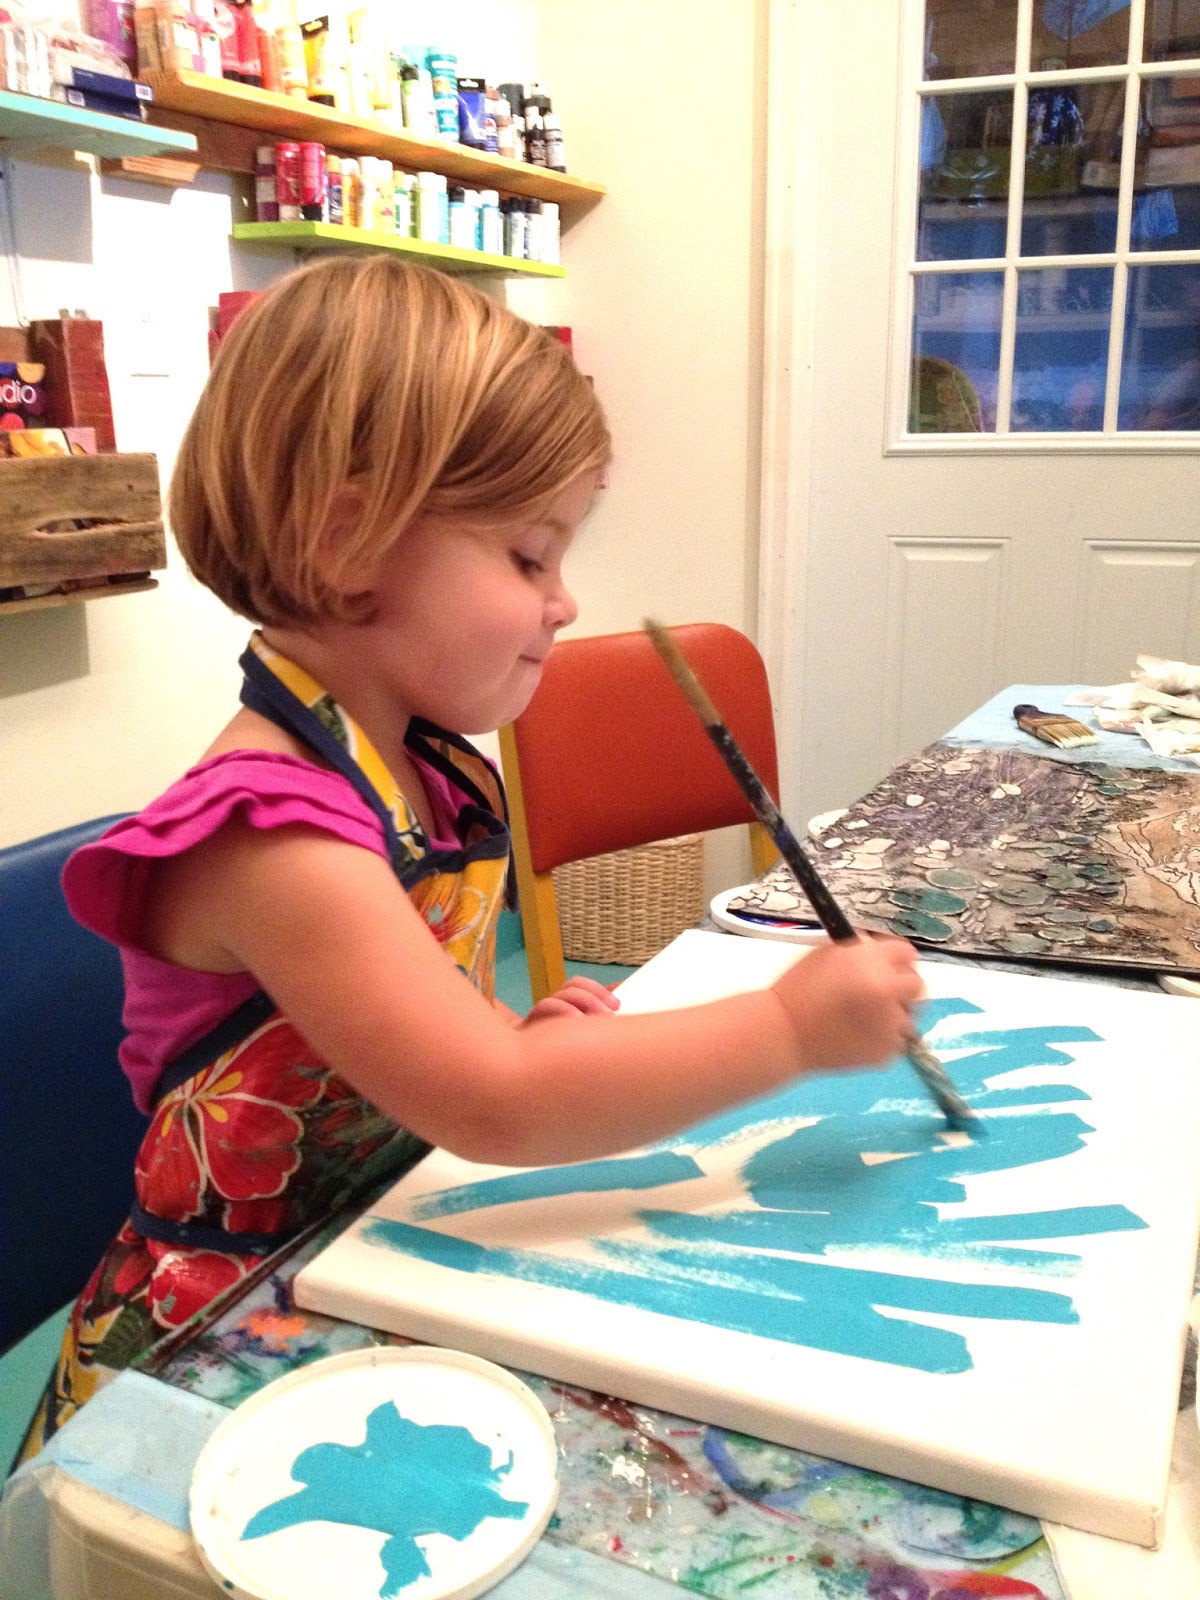
"En Plein Air" Kid Painting- a.k.a. Free Paint Time!

"En Plein Air" is French, meaning to "paint outdoors", but to me in my world, it is to create art "without rules" or any "preconceptions." I always have a project in mind when I give my kids or students art materials. My own kids sometimes just ask "Mom, can we just make an art project without having you tell us what the theme is?" Oh yeah, that would be nice right? Why didn't I think of that? 


So... one "to do" we wrote for our 
Family Summer BUCKET LIST:

  • Buy blank white canvas!
  • Paint whatever you want!
  • No Rules!


I didn't exactly make time in the Summer for this type of painting. Turns out it is a great idea for when the older kids are in school! I loved watching the facial expressions of my 3 1/2 year-old -choosing colors, brushes and paint and whatever entertained her cute little mind...

A therapeutic painting exercise for all ages... even adults.


FISH JUMPING OVER THE RAINBOW WATER... AND A BIG SHARK... AND A BIG RED WHALE 


Didn't ya know?


September 06, 2013

Life Changes...And the colors around us

It's almost humorous to look at my blog for the first time in a while and realize that it really has been this long (4 mos! yikes) since I have posted! Well, I'm back and I'm excited to share a few projects that I have worked on over this Summer. If you've read any of my recent posts, you may remember that I "recently" had a baby in March. Yes, it has been 6 months since then and we have enjoyed having a little one in our home-but it has been challenging (4 kids)! 

Like... for example I have been soooooooooooooooooooooooo soooooooooooooooooooooooo soooooooooooooooooooooo 
TIRED! 
To make a long story short: I felt like my body recuperated quickly from the birth, but then went downhill... I have had trouble with my energy level, my body felt so heavy and slow, I was cold when it was hot outside, my balance was off, I started gaining weight when I was eating healthy and exercising, and it was exhausting to talk and chew (those are very important functions Yo! Right?)... Anyway, finally figured out that I have a malfunctioning thyroid and I am excited for modern medicine to kick in! I feel like I will get my life back again! 

Anyway, we still have managed to have a wonderful Summer and I will be sharing our 
SUMMER BUCKET LIST
in the upcoming posts!


Bye Summer...


There is beauty all around...


May 08, 2013

REDUCE*REUSE*RECYCLE... Bottle Lids Wall Art {DIY}

So to end our EARTH MONTH celebration, one 1st-grade class helped me make this bright & colorful artwork to hang on their school wall.  And what's amazing is that they were able to help collect "trash" to create it for almost nothing! Here's a smaller lid art version for those that do not want to cover half of your wall with lids.


This big ol' pretzel jar was filled up with lids at least 2 times...

Yep, lots of lids that the kids and I repurposed. We had fun glueing (heavy duty glue from the hardware store) every lid you can think of - onto a painted, masonite board with a frame for hanging. 


This took almost no time to make and create and every child was able to participate and create a few circle designs... gotta love it.

I knew my hoarding/repurposing would come in handy!


REDUCE*REUSE*RECYCLE